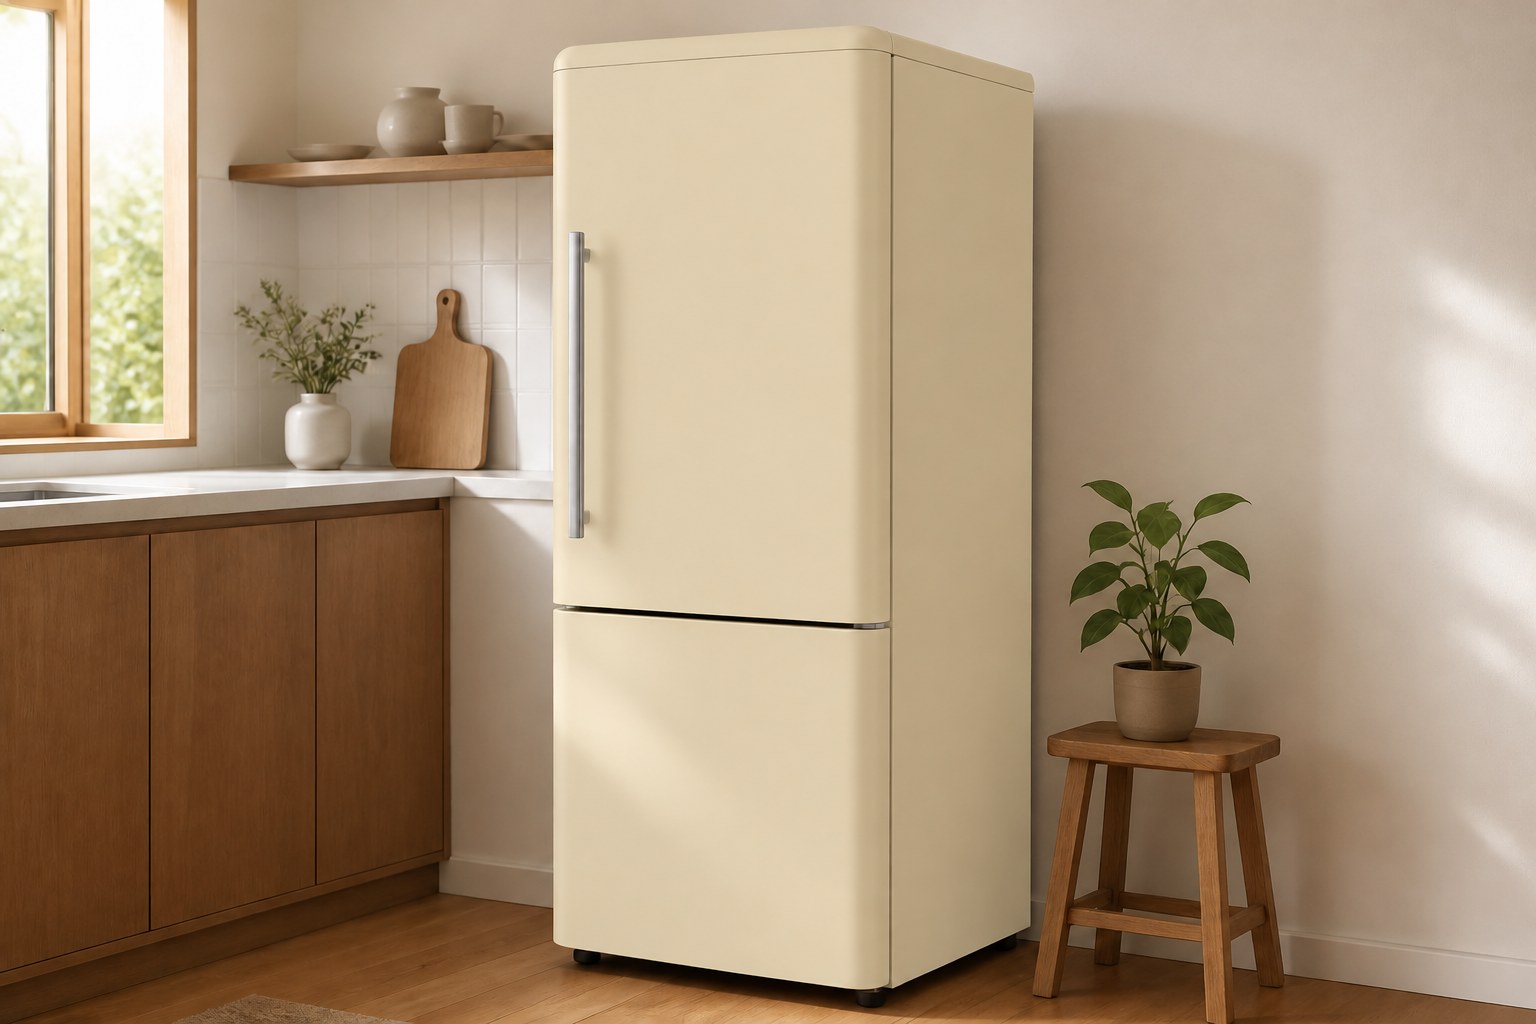
Staged image. Colour: AS013 (full colour range)
The refrigerator takes film better than almost anything else in the home. Doors and sides are wide, flat planes, so changing the colour of this one large object makes the whole kitchen read newer. The shared technique lives in our kitchen cabinet guide; here is what changes when the substrate is an appliance.
Where to apply, where to leave alone
Apply: door fronts, side panels, the flat areas around handles. Painted steel and coated surfaces are strong substrates, and though you can't lay a fridge down, upright flat planes are manageable territory.
Leave alone: the back, any heat-dissipating surfaces, and vents. The door interior and the rubber gasket itself are not film territory either.
Doors with water dispensers or display windows multiply the openings and the cutting work; count those models as one difficulty level higher.
Step by step
The process images below are staged renders keyed to a physical swatch (AS013).
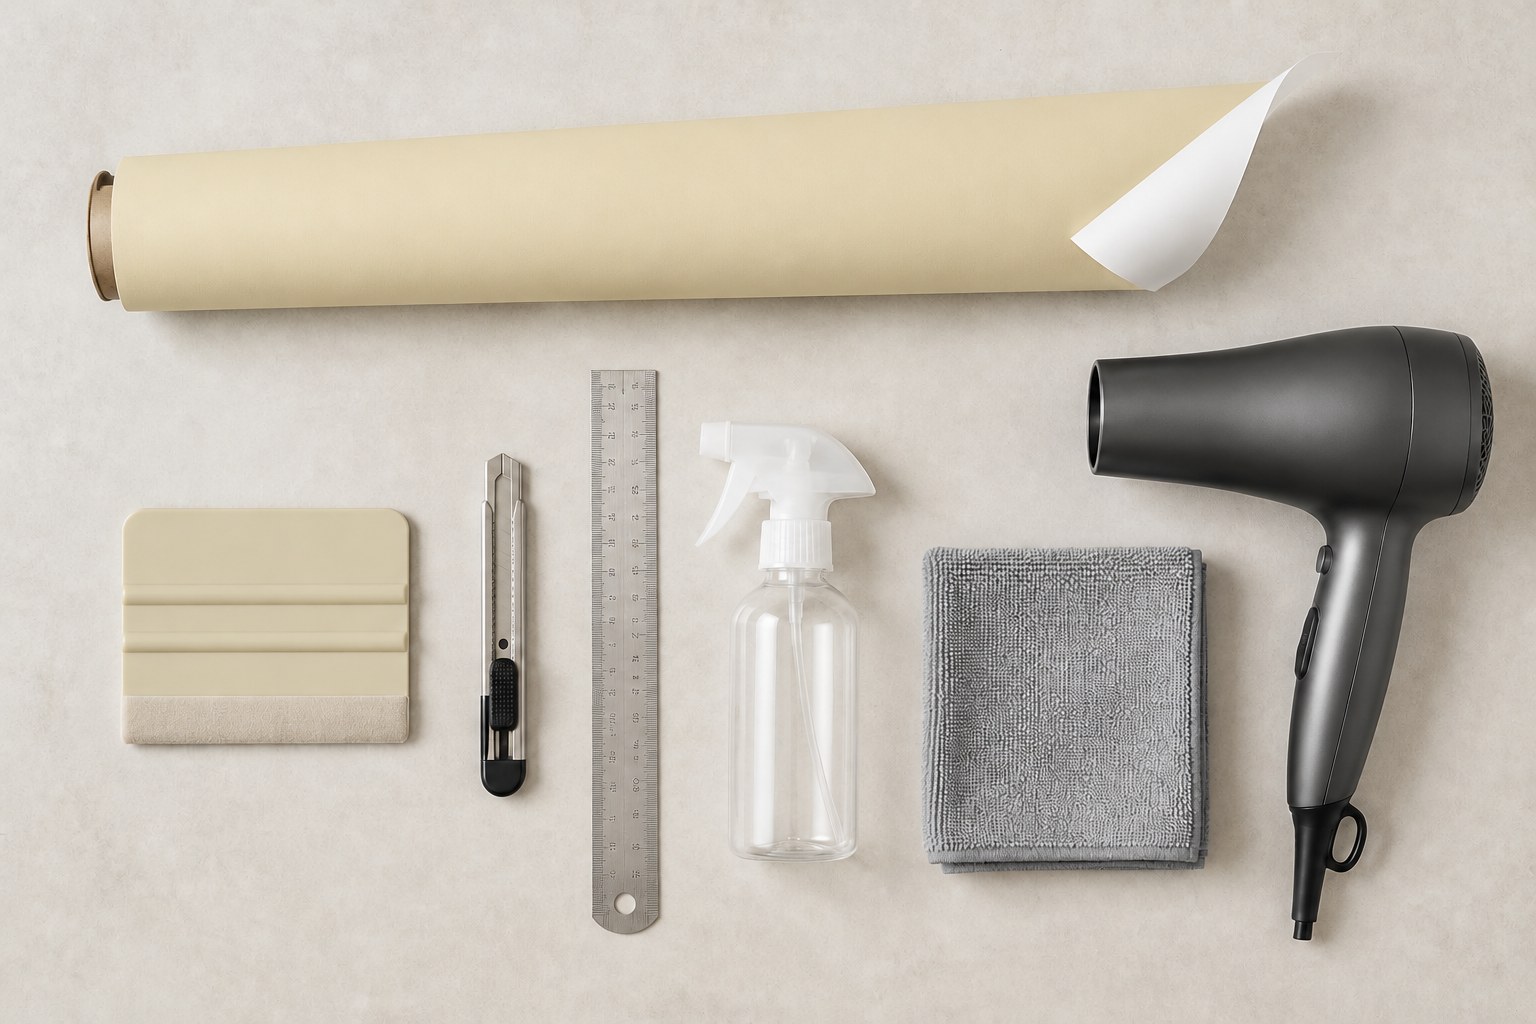 Step 1 · Tools. Film, squeegee, snap-off knife, ruler, cloth, hair dryer.
1. Gather the tools. Nothing exotic, but do not skip the squeegee. A palm leaves bubbles; a blade edge doesn't.
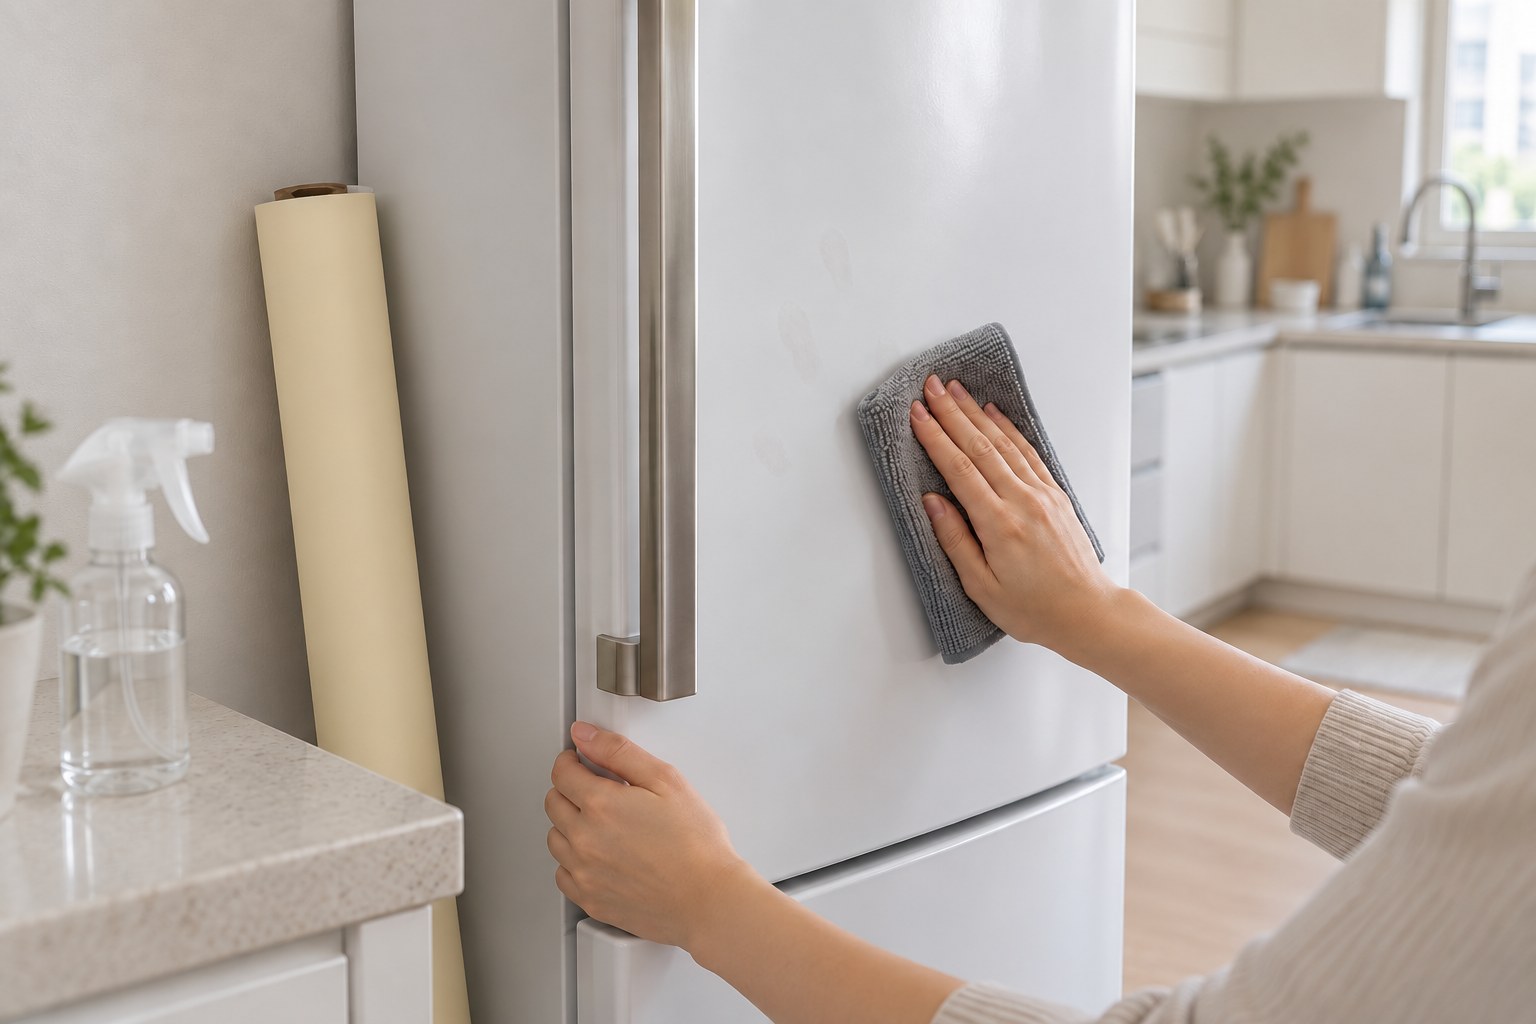 Step 2 · Degrease. The wiping and drying matter more than the sticking.
2. Degrease the surface. Kitchen appliances wear an invisible film of airborne grease, and it is the most common cause of lifting. Wash with neutral detergent, dry fully, then finish with an alcohol wipe. Remove sticker and magnet residue completely at this stage. Painted steel is non-absorbent, so degreasing and drying do the job primer does on furniture.
3. Remove the handles where the model allows it. The finish is cleaner, and a photo of the screw positions makes reassembly trivial.
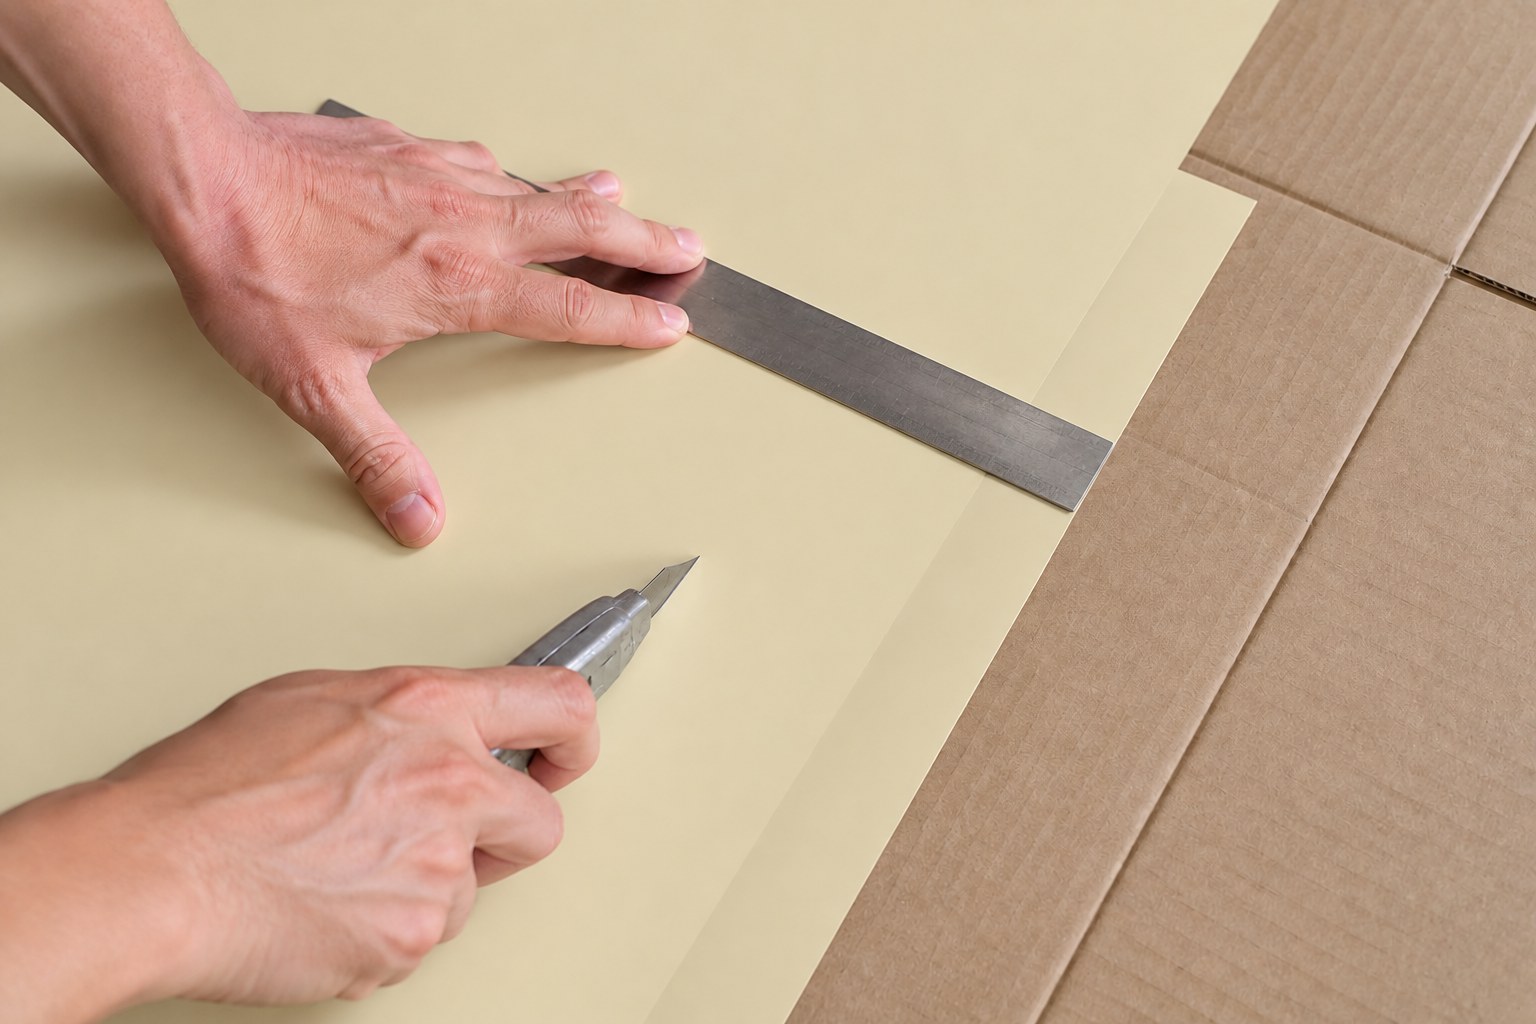 Step 4 · Cut. A 3–5 cm margin on every side is the beginner's insurance.
4. Cut with a margin. Measured size plus 3–5 cm on every side. A piece cut exactly to size cannot recover from a few millimetres of drift. Cut the sides as separate sheets.
5. Work top-down. Peel only the top 5–10 cm of liner and fix the top edge first. Then peel gradually while squeegeeing centre-outward, top to bottom, in one direction; scrubbing back and forth traps bubbles instead of chasing them out. Re-lift only for a serious misalignment: repeated peeling stretches the sheet and weakens the adhesive.
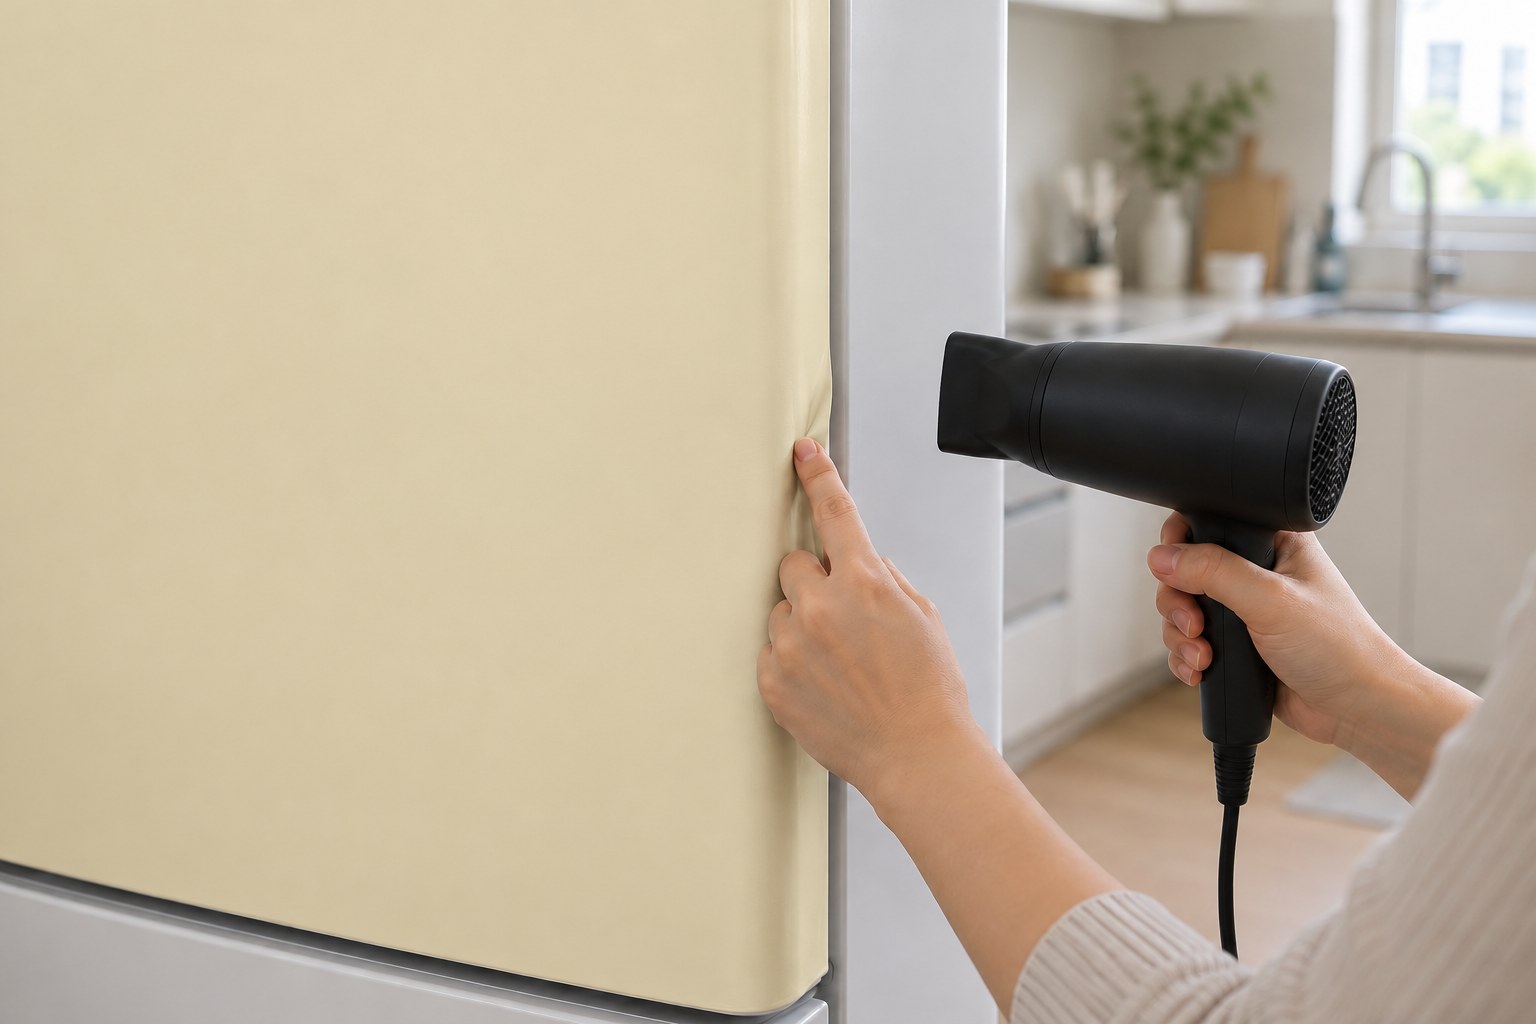 Step 6 · Heat the corners. Short, gentle, at a distance.
6. Finish corners with heat. Warm each corner for 3–5 seconds from 20–30 cm, wrap, and press hard. Too much heat stretches the sheet and shifts the gloss. With a shape-stable PP sheet, the hard fold-and-press is part of the finish, not an extra.
7. Two refrigerator-specific finishing details. Tuck the excess at the door edge into the rubber gasket channel: the cut line disappears and the edge resists lifting; it is the cleanest finish a fridge offers. For displays and control panels, cover first, then trim along the bezel.
Hold off wet-wiping for a day or two, and re-check the corners the next day: lifting shows more clearly after 24 hours and re-presses easily with gentle heat.
A note on the material
Most decorative wrap on the market is PVC. Art-Eco, the Hansol line we distribute, uses a food-container-grade PP substrate with no phthalate plasticisers. Hansol Art-Eco and Neotec SAVE, both of which we supply, are the only lines in Korea's self-adhesive sheet category with KFI quasi-non-combustible certification. Certificates are in our documentation; styled rooms are in the lookbook.
FAQ
Q. Doesn't the refrigerator's heat damage the film? The rule is to leave the heat-dissipating back and vents uncovered. Front planes, doors and sides, are fine, with the same 18–24°C room-temperature application window as furniture.
Q. Will it leave residue when removed? It is an adhesive product, so the answer depends on the substrate and how long it has been on. If restoring the original surface matters, a rented appliance, for instance, test in an inconspicuous spot first. That is our field recommendation, not a manufacturer specification.
For product and import enquiries, contact us.
YEILDECO
Fire-rated, PVC-free architectural film
Semi-non-combustible (KFI-certified), PVC-free interior film from Korea. We welcome distributor and export inquiries.