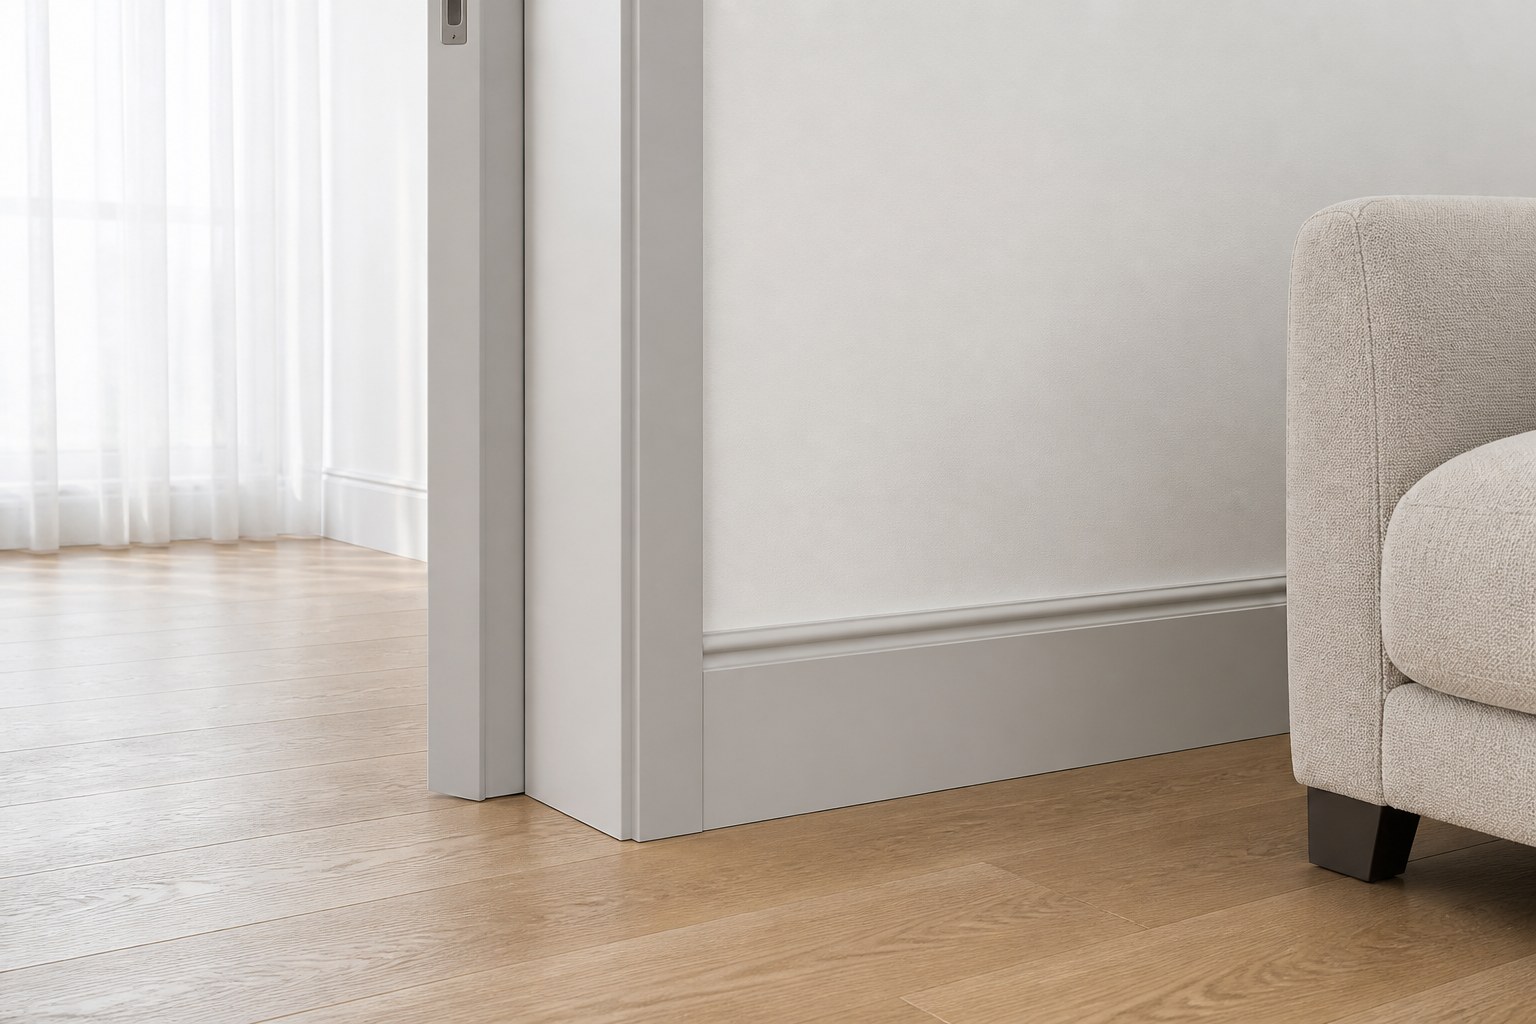
Staged image. Colour: AS004 (full colour range)
Much of what makes an interior feel dated is the trim. When dark cherry casings and baseboards collide with light walls and floors, the whole room reads as an old build. Moulding film covers the smallest area of any refacing job and shifts the impression the most, which is why baseboards and casings are usually wrapped together as one project. The shared technique is in our kitchen cabinet guide; here is what trim changes.
Mouldings that work, and mouldings that fight back
Shape sets the difficulty.
Flat (square-profile) mouldings, baseboards, casings: modern trim with a flat or gently eased section is just a long narrow plane: cut strips, wrap, done. Solid DIY territory.
Deeply profiled mouldings: classical trim with deep wave or step profiles demands that the film bond into every contour, and that is a different discipline. The more dimensionally stable the sheet, the harder it resists deep contours; the manufacturer's application manual calls for splitting complex curvature into overlapping sections. Treat these as professional territory.
The third option used on real sites: instead of wrapping a deep profile contour by contour, flatten the moulding first, fill the profile with putty or face it with a flat board, then wrap the new plane. It often costs less in labour and material than fighting the curves, and installers choose it constantly.
Step by step
Staged renders keyed to a physical swatch (AS004).
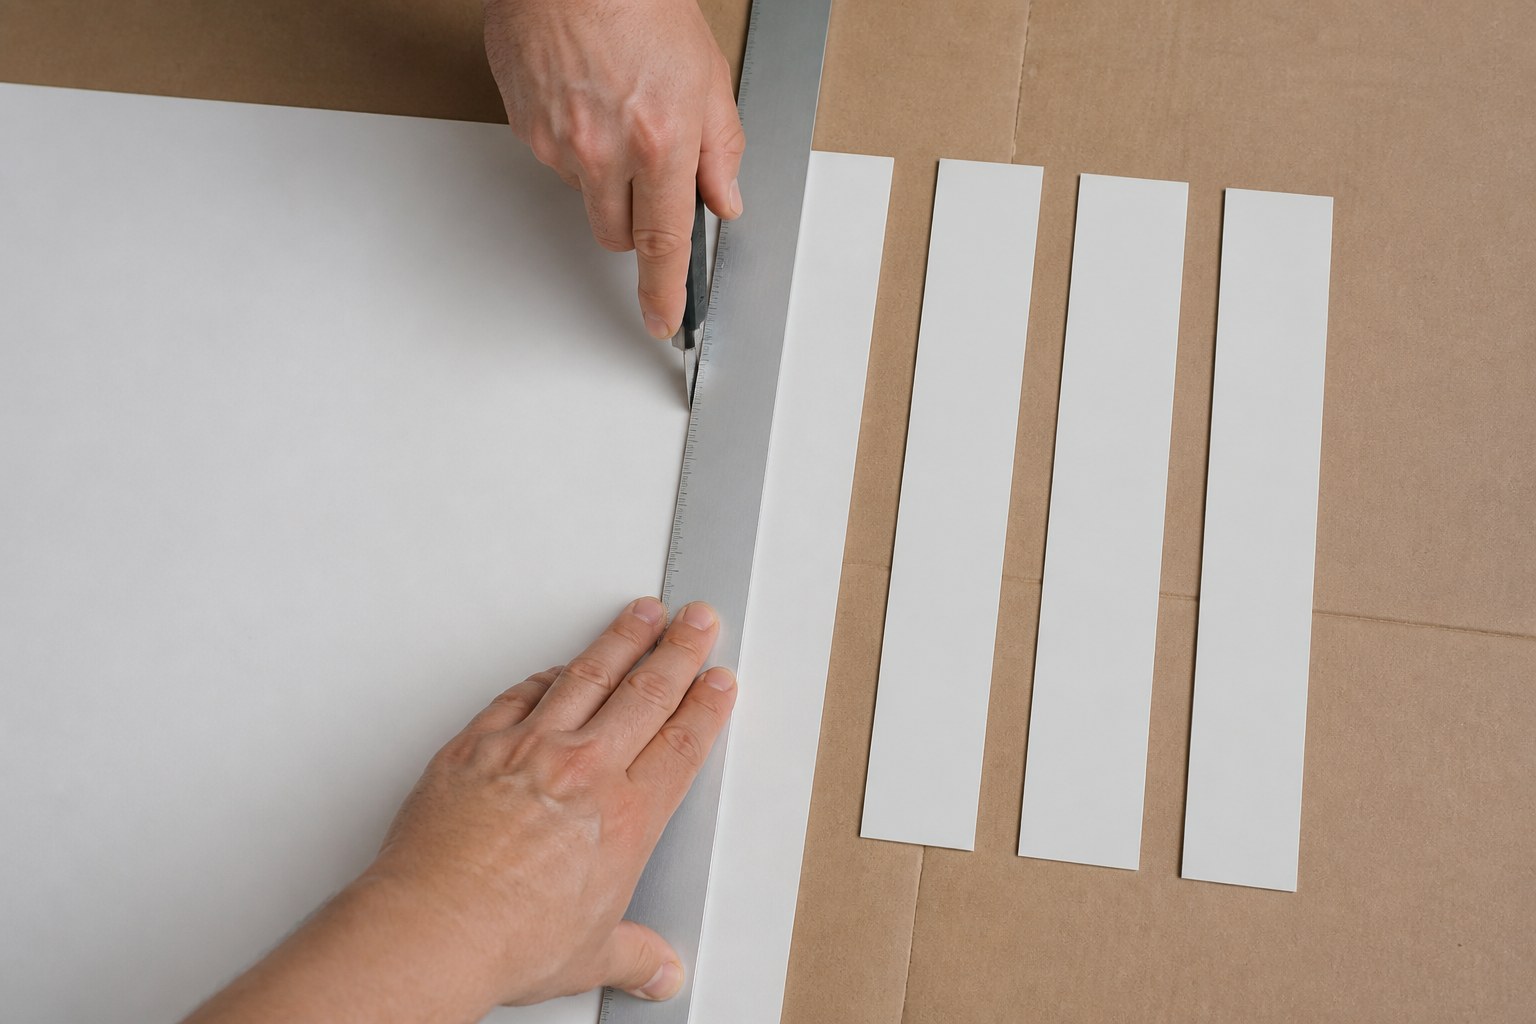 Step 1 · Strip cutting. Profile width plus wrapping margin, cut long.
1. Cut strips. Profile width plus a wrapping margin each side, cut as long as the run allows: the fewer mid-run joints on a long member, the cleaner the finish.
2. Build the substrate. Painted trim gets degreased; trim with a peeling factory foil gets cleaned back and primed. Corners and contours carry the adhesive load on mouldings, so this is the place not to economise on primer.
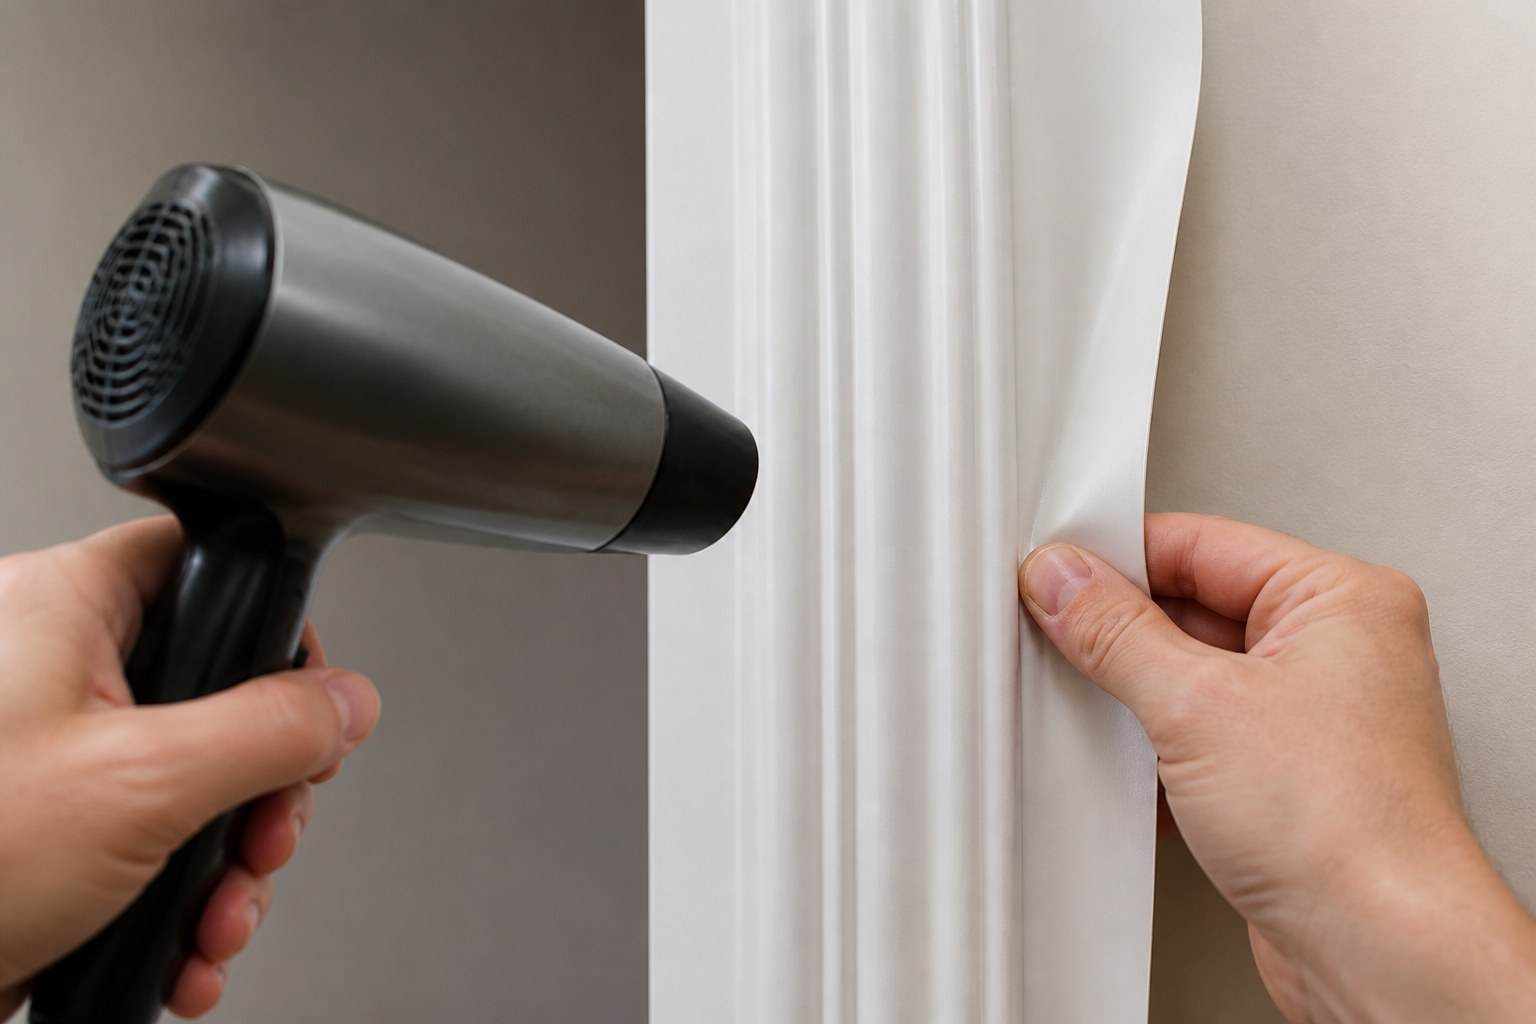 Step 3 · Heat-forming the curve. This is where moulding jobs are won or lost.
3. Form curves with heat. The heart of the trim chapter. Press film cold into a concave groove and its shape memory lifts it back out within days. Warm the film gently from a distance, 20 cm or more with a heat gun, until it relaxes, then press it hard into the groove with fingertips and squeegee. Heat briefly, press firmly: that is the rule.
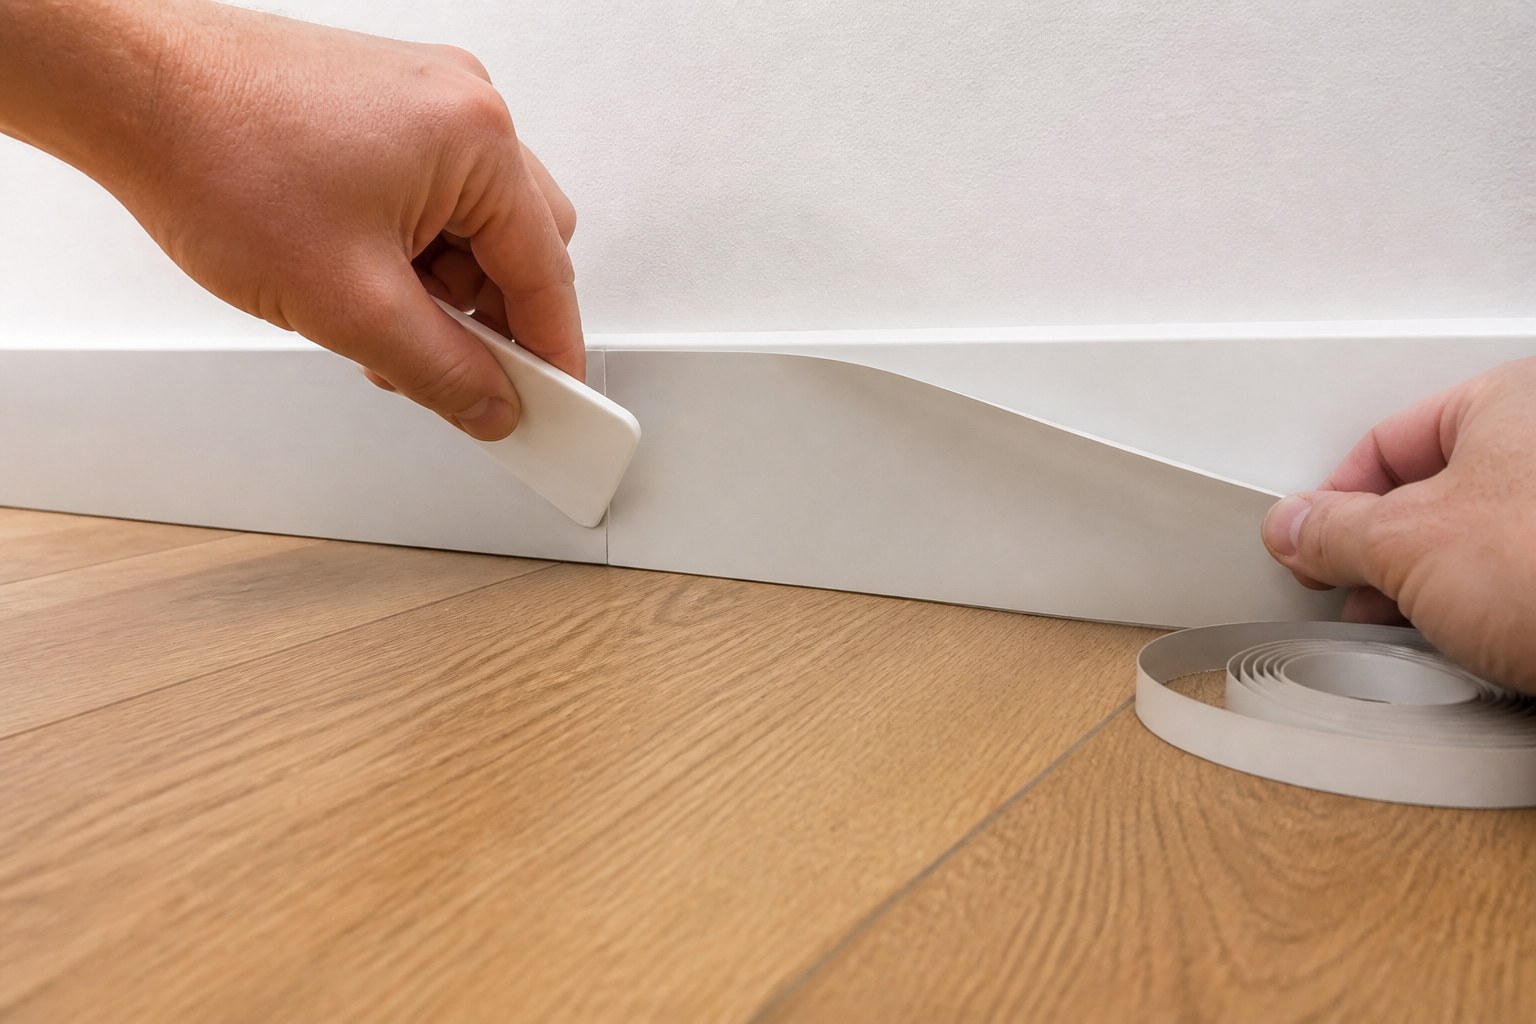 Step 4 · Baseboards. The floor edge decides the lifespan.
4. Baseboards: low and long. Run the strip along the floor and press the bottom edge, the one meeting the floor, hardest of all. Vacuum cleaners and feet brush this line daily, and a lifted edge is where peeling starts. Mitred 45° corners come down to knife precision.
Hold off wet-wiping for a day or two, and press the contours once more the next day, the same habit as every other surface.
Colour: unification is half the job
Most trim projects exist to make the trim disappear. The classic move is one colour, a white or greige that continues the wall, across casings, baseboards, and window trim together. A neutral half a tone darker than the wall, like the greige on our cover (AS004), is the safe centre; if the doors are being wrapped too, matching door and casing pulls the room together. The full range is on the products page as physical-swatch photography.
The material standard is the same as everywhere else: Art-Eco uses a PP substrate with no phthalate plasticisers. Hansol Art-Eco and Neotec SAVE, both of which we supply, are the only lines in Korea's self-adhesive sheet category with KFI quasi-non-combustible certification. Certificates are in our documentation.
FAQ
Q. Why does my baseboard keep lifting? Almost always under-pressed bottom edges, or mop water wicking into the edge. Re-press with gentle heat, and wipe the baseboard line dry after wet cleaning.
Q. Can I do crown moulding myself? We'd advise against it. Overhead work plus curved heat-forming makes it the hardest trim there is. If the plan includes ceiling trim, professional help from the start ends up faster and cleaner.
Q. Can I wrap straight over the moulding without removing it? Near-flat trim, yes, after substrate prep. Deep profiles usually do better flattened with putty or board first; the finish and the budget both come out ahead.
For product and import enquiries, contact us.
YEILDECO
Fire-rated, PVC-free architectural film
Semi-non-combustible (KFI-certified), PVC-free interior film from Korea. We welcome distributor and export inquiries.